

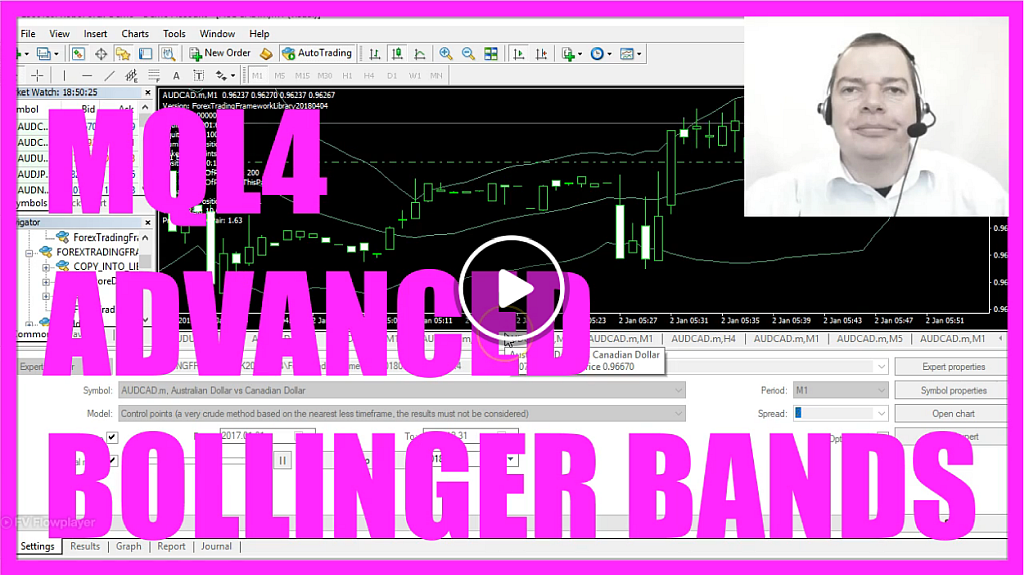
In this video we are going to trade the Bollinger Bands, I really like this Indicator – actually it was the first one that made me a profit a few years ago.
This would be a sell signal; the last candle closed outside the upper Bollinger Band and here we have a reentry. In the other case; like here the close is below the lower Bollinger Band and the next candle reenters from below, that would be a buy signal.
Now how can we create an Expert Advisor that is able to produce these entry signals and to work as an entry module (CheckEntry_Bollinger) for a main module that is actually going to trade Bollinger Bands?
Well, to do that please click on the little button here or press F4 on your keyboard and now you should see the Metaeditor window here, please click on “File/ New/ Expert Advisor (template)” from template, “Continue”, I will call this one: “CheckEntry_Bollinger”, because this is what we are going to call from our main module.
For now click on “Continue”, “Continue” and “Finish”, and let’s delete everything above the “OnTick” function and the two comment lines here.
In our case we will not use the “OnTick” function but a “string CheckEntry” function, that’s the one that we are going to call from our main module to find out if we have a signal.
So we start by creating an empty string variable for the signal, let’s call it: “signal” and don’t assign a value here.
To trade the Bollinger Bands we are going to calculate the upper and the lower Bollinger Band, we use the built-in function called: “iBands” for the current symbol on the chart, and the current period on that chart.
The signal will be calculated based on the last 20 candles, we have a deviation of 2 and the calculation will be based on the close price.
The lower Bollinger Band uses a parameter called: “MODE_LOWER” and for the upper Bollinger Band we use: “MODE_UPPER” and this is the calculation for candle 1 – that’s always the candle before the one that is built right now, so this would be candle 0 and this would be candle 1 – and to find out if we have a crossover we calculate the candle before.
This is exactly the same thing but this time we are using candle 2 and if the price is above the last close price – so if it’s going up – and if close 2 was below the lower band and there is a third condition; if close 1 is above the lower band now, so when it was below for candle 2 and if it is above for candle 1 that would mean that we have crossed the lower band from outside and if that is true we assign the word: “buy” to our signal.
Let’s do a little formatting here, so this is the whole buy statement.
Obviously we need the same for the sell signal and here we are.
If the price is below the last close price – if close 2 was above the upper Bollinger Band and if close 1 is now below the upper Bollinger Band that would be a re-entry from here and now we want to assign the word:“sell” to our signal.
In the last step we are going to return the signal to our main module by using the “return” function.
In my case the main module is the Forex Trading Framework, this is the MQL4 version from April 2018. The framework is basically a collection of functions that can open and handle positions in MQL4.
Here we include the “CheckEntry_Bollinger.mq4” file that we have created here, so please save the file we have created.
Now I need to go to my own main module, you could use your version or download the demo version from my website.
I have to click on “Compile” or press F7 and we don’t have any errors here so now I can click on the little button here or press F4 to go back to Metatrader.
In Metatrader we use a little trick, we click on “Insert/ Indicators/ Trend/ Bollinger Bands“, and here you will see the 20 candles, the deviation value of 2 and as we said we calculate based on the close price, we don’t use a shift value so now we can click on “OK” and now you right-click into the chart, select “Template/ Save Template” and save it as: “tester.tpl” because this file is used by the Strategy Tester.
Now that we have done that we click on “View/ Strategy Tester” or press “CTRL and R”, you will have to select the main module – in my case it’s the Forex Trading Framework – enable the visual mode and start your test.
Here is our little Expert Advisor at work, we have already made a few trades and a little profit and now you know how to create an Expert Advisor entry module to calculate buy or sell signals for the Bollinger Band entry and you have coded it yourself with a few lines of MQL4 code.
Download “MQL4 TUTORIAL - ADVANCED BOLLINGER BANDS”
AdvancedBollingerBands.txt – Downloaded 4871 times – 1.10 KB
Not sure what to do? Click on the automated trading assistant below
- MQL4 TUTORIAL - ADVANCED SMA EXPERT ADVISOR
- MQL4 TUTORIAL - SIMPLE SMA STANDALONE EXPERT ADVISOR
- MQL4 TUTORIAL - SIMPLE SAR EXPERT ADVISOR
- MQL4 TUTORIAL - SIMPLE WPR EXPERT ADVISOR
- MQL4 TUTORIAL - PLATIN SYSTEM - WILLAMS PERCENT…
- MQL4 TUTORIAL - SIMPLE MODULAR EXPERT ADVISOR
- MQL4 TUTORIAL - SIMPLE BULLS POWER EXPERT ADVISOR